


How to Make a Drink Look Good in Photos
Learning how to make a drink look good in photos isn’t about complicated styling or perfect garnishes. This guide breaks down the calm, practical rules, from light and glassware to ice and framing, that make drinks photograph beautifully without feeling staged. Ideal for modern hosting, casual content creation and anyone who wants their drinks to look as good as they taste, naturally and effortlessly.
Knowing how to make a drink look good in photos has quietly become part of modern hosting. Not in a try-hard, influencer way, but in the same way we now notice light, glassware and the angle of a table before guests arrive. The difference between a drink that photographs beautifully and one that feels awkward on camera is rarely the recipe. It’s restraint.
A good drink photo should look like a moment you walked into, not one you arranged. The glass is half full. The ice isn’t perfect. There’s a sense someone is about to pick it up. Once you understand that, drink photography becomes less about styling and more about knowing when to stop.
Step-by-step: a calm, no-cringe approach to drink photography
1. Start with the glass, not the drink
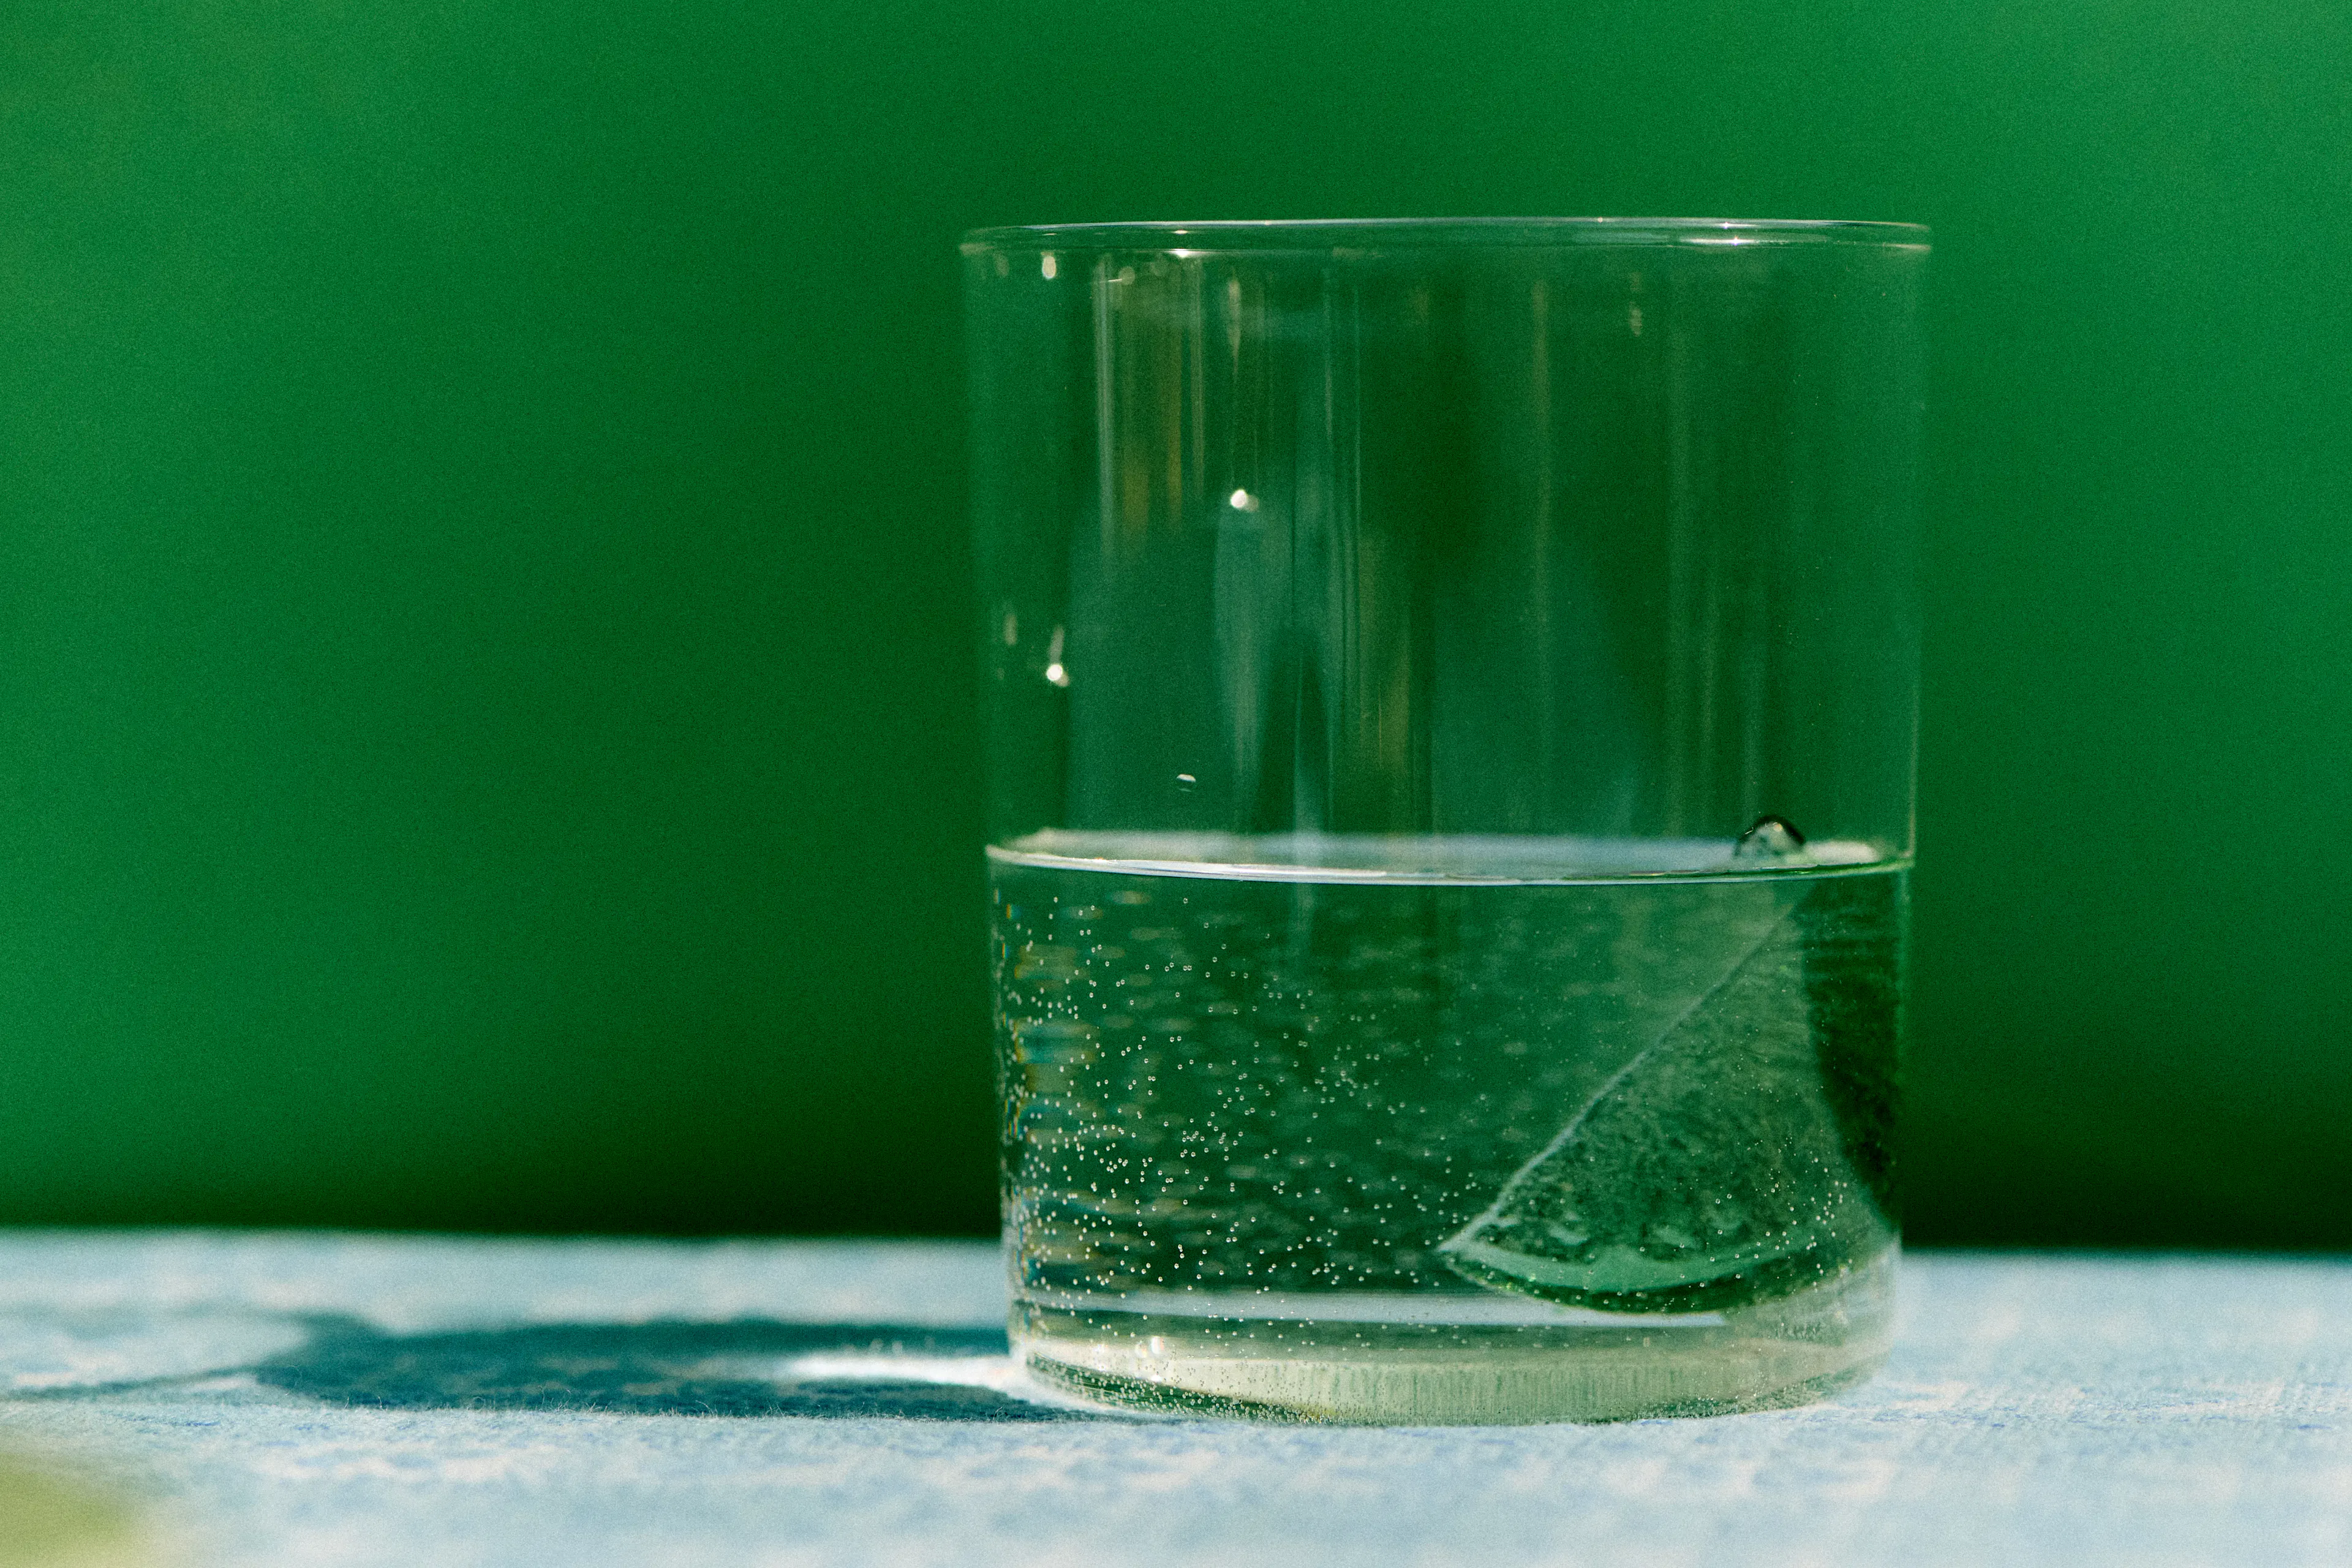
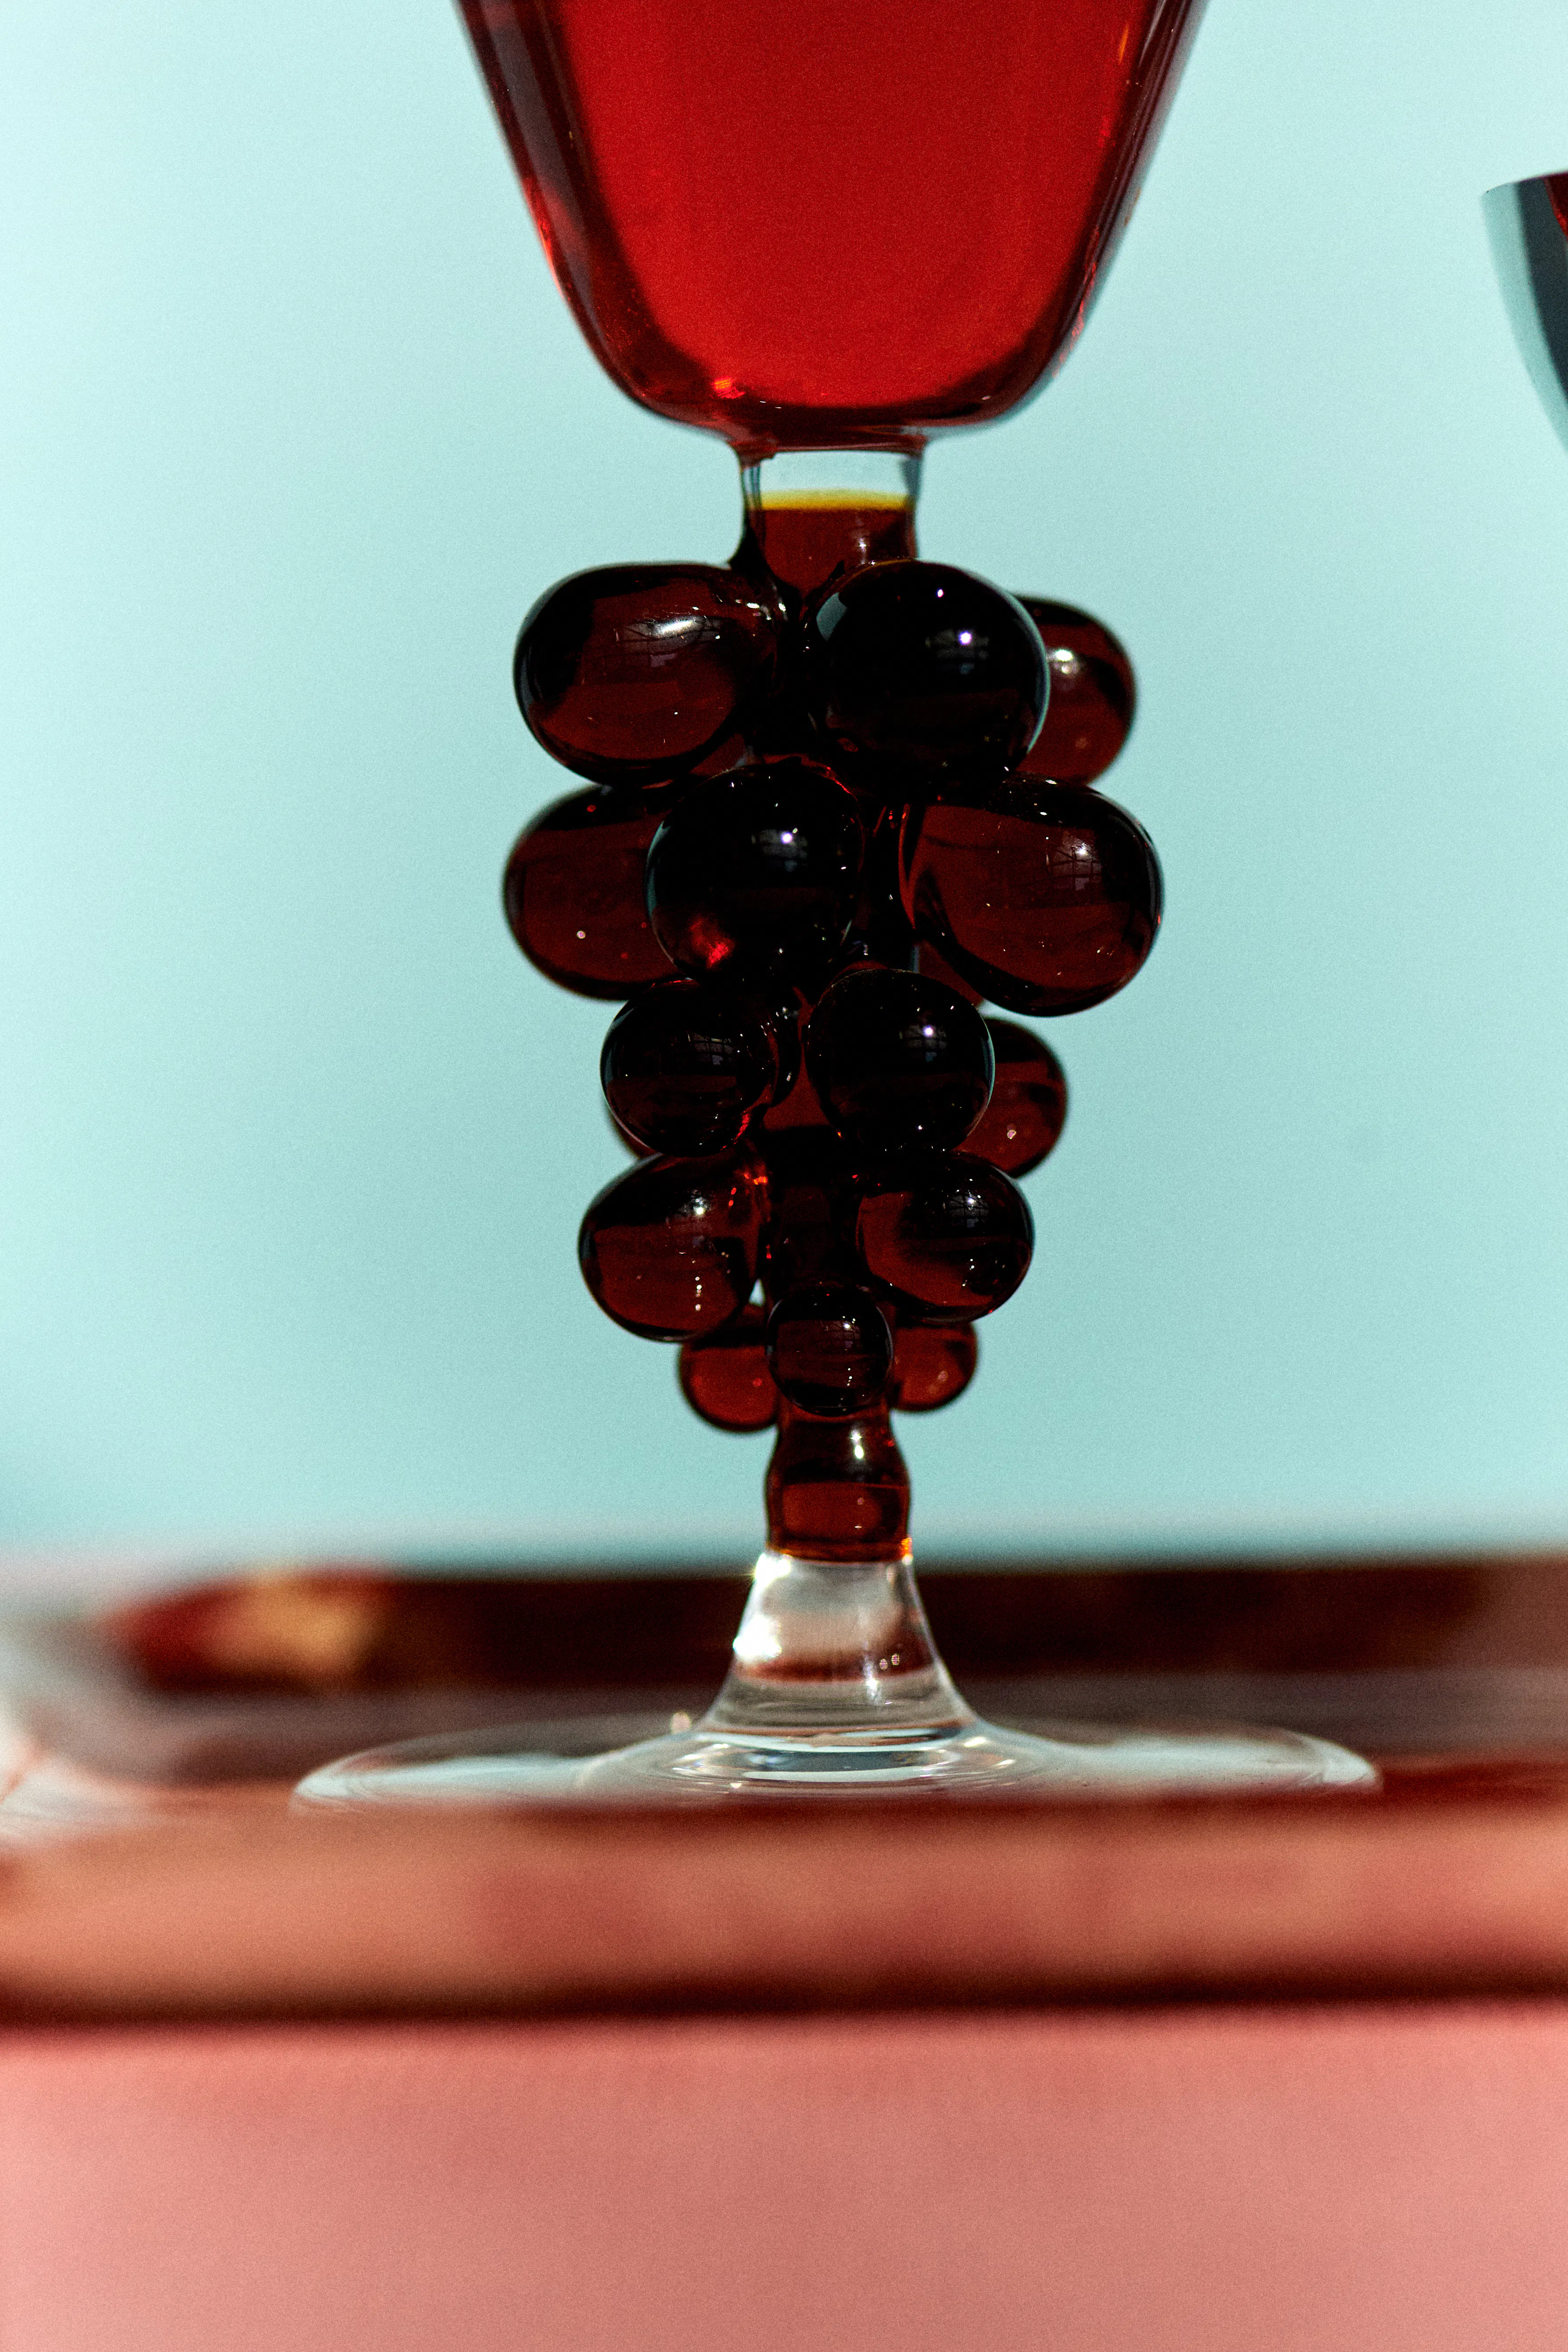
If you want to make a drink look good in photos, glassware does most of the work. Thin rims, simple silhouettes and unfussy proportions photograph cleanly. Heavy cuts, logos and novelty shapes don’t age well on camera.
Fill the glass slightly under what feels “correct” in real life. That extra breathing room reads as relaxed, not stingy.
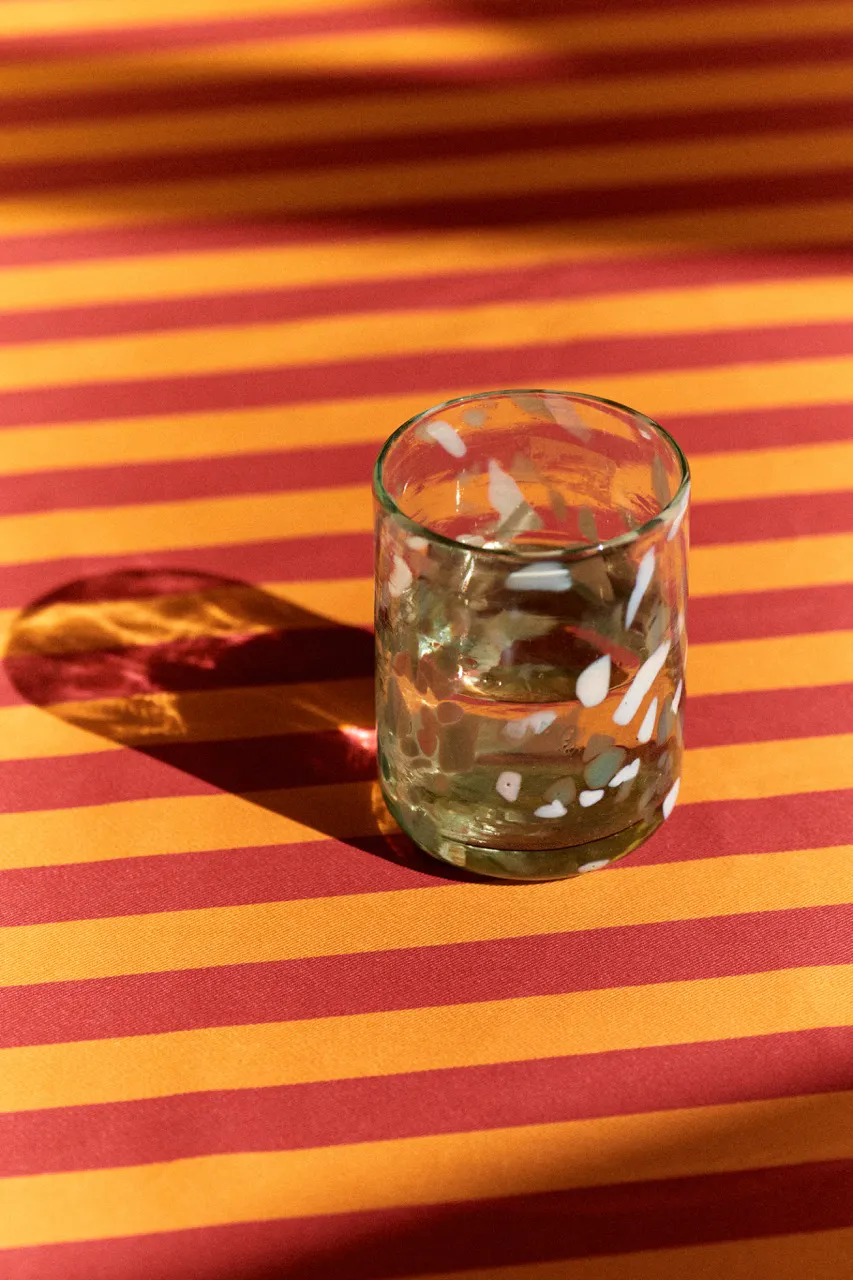
2. Light it from the side - always
Drinks need light that skims, not blasts. Place the glass near a window so light hits from the side or slightly behind. Overhead lighting flattens liquid and turns ice cloudy.
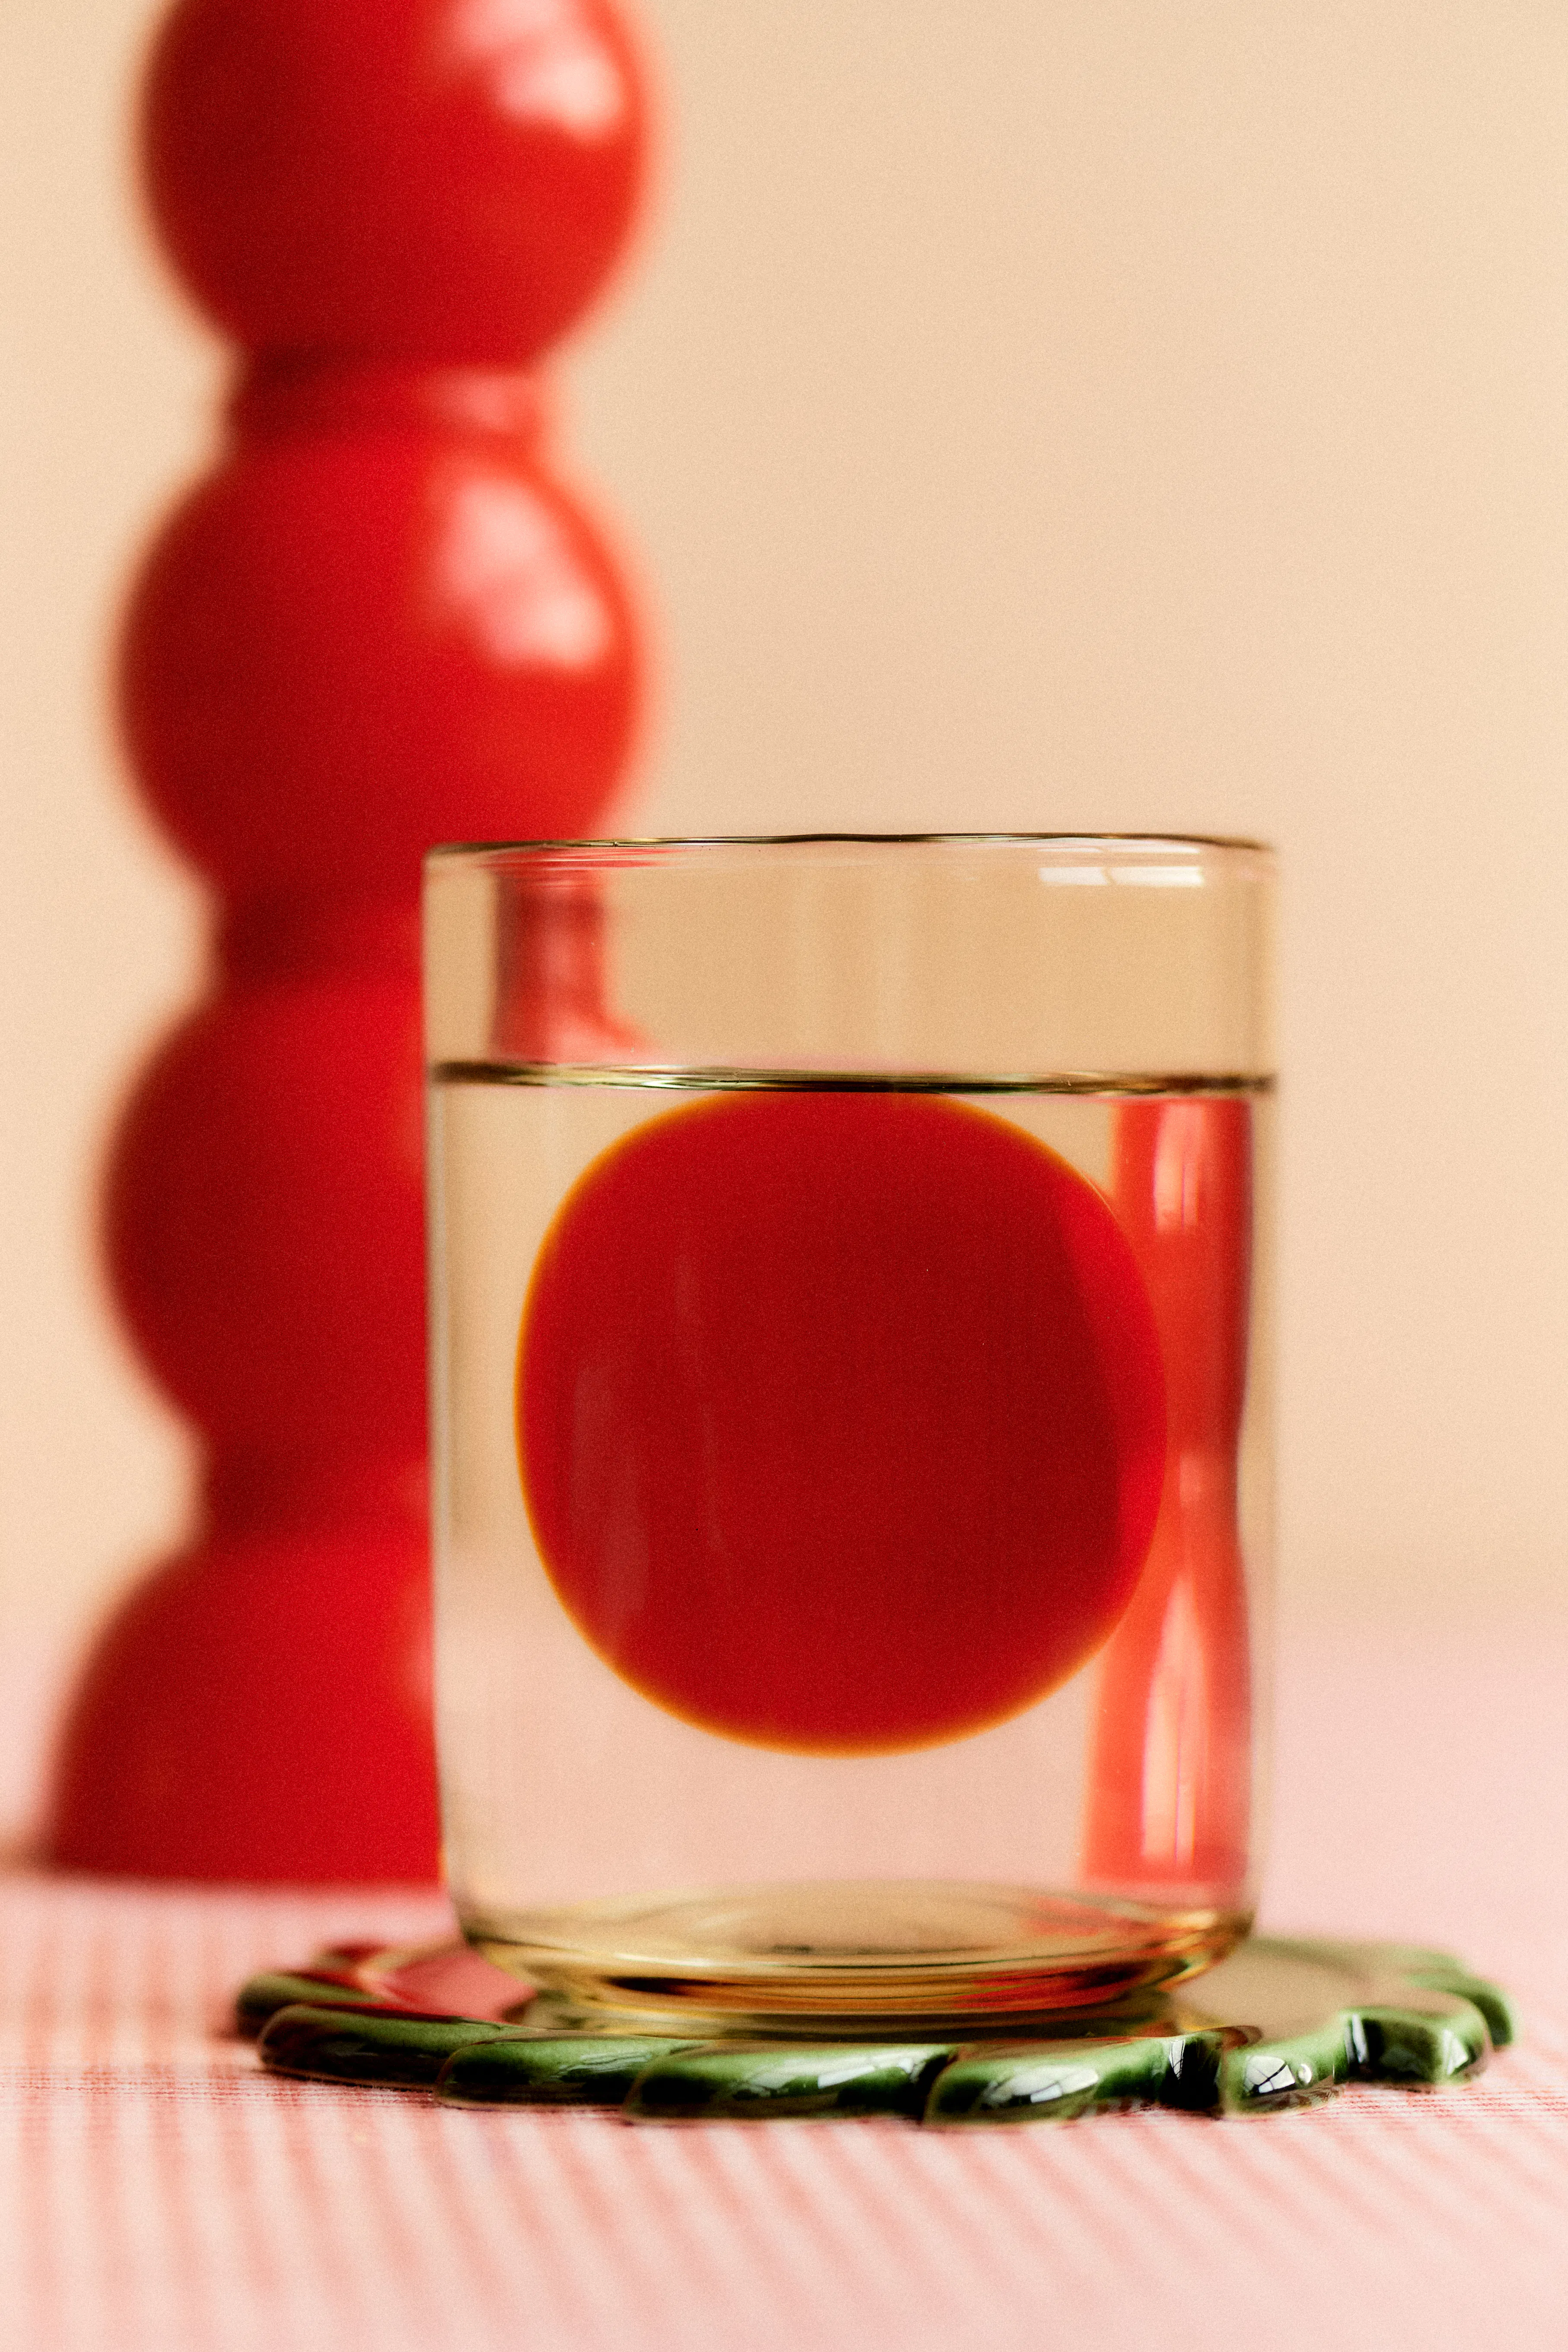
3. Ice matters more than garnish
Cloudy ice is the fastest way to make a drink look tired in photos. You don’t need artisan ice, just fewer cubes, spaced naturally. Avoid crushed ice unless the drink is built for it.
If the ice looks good, garnish can be minimal or skipped entirely.
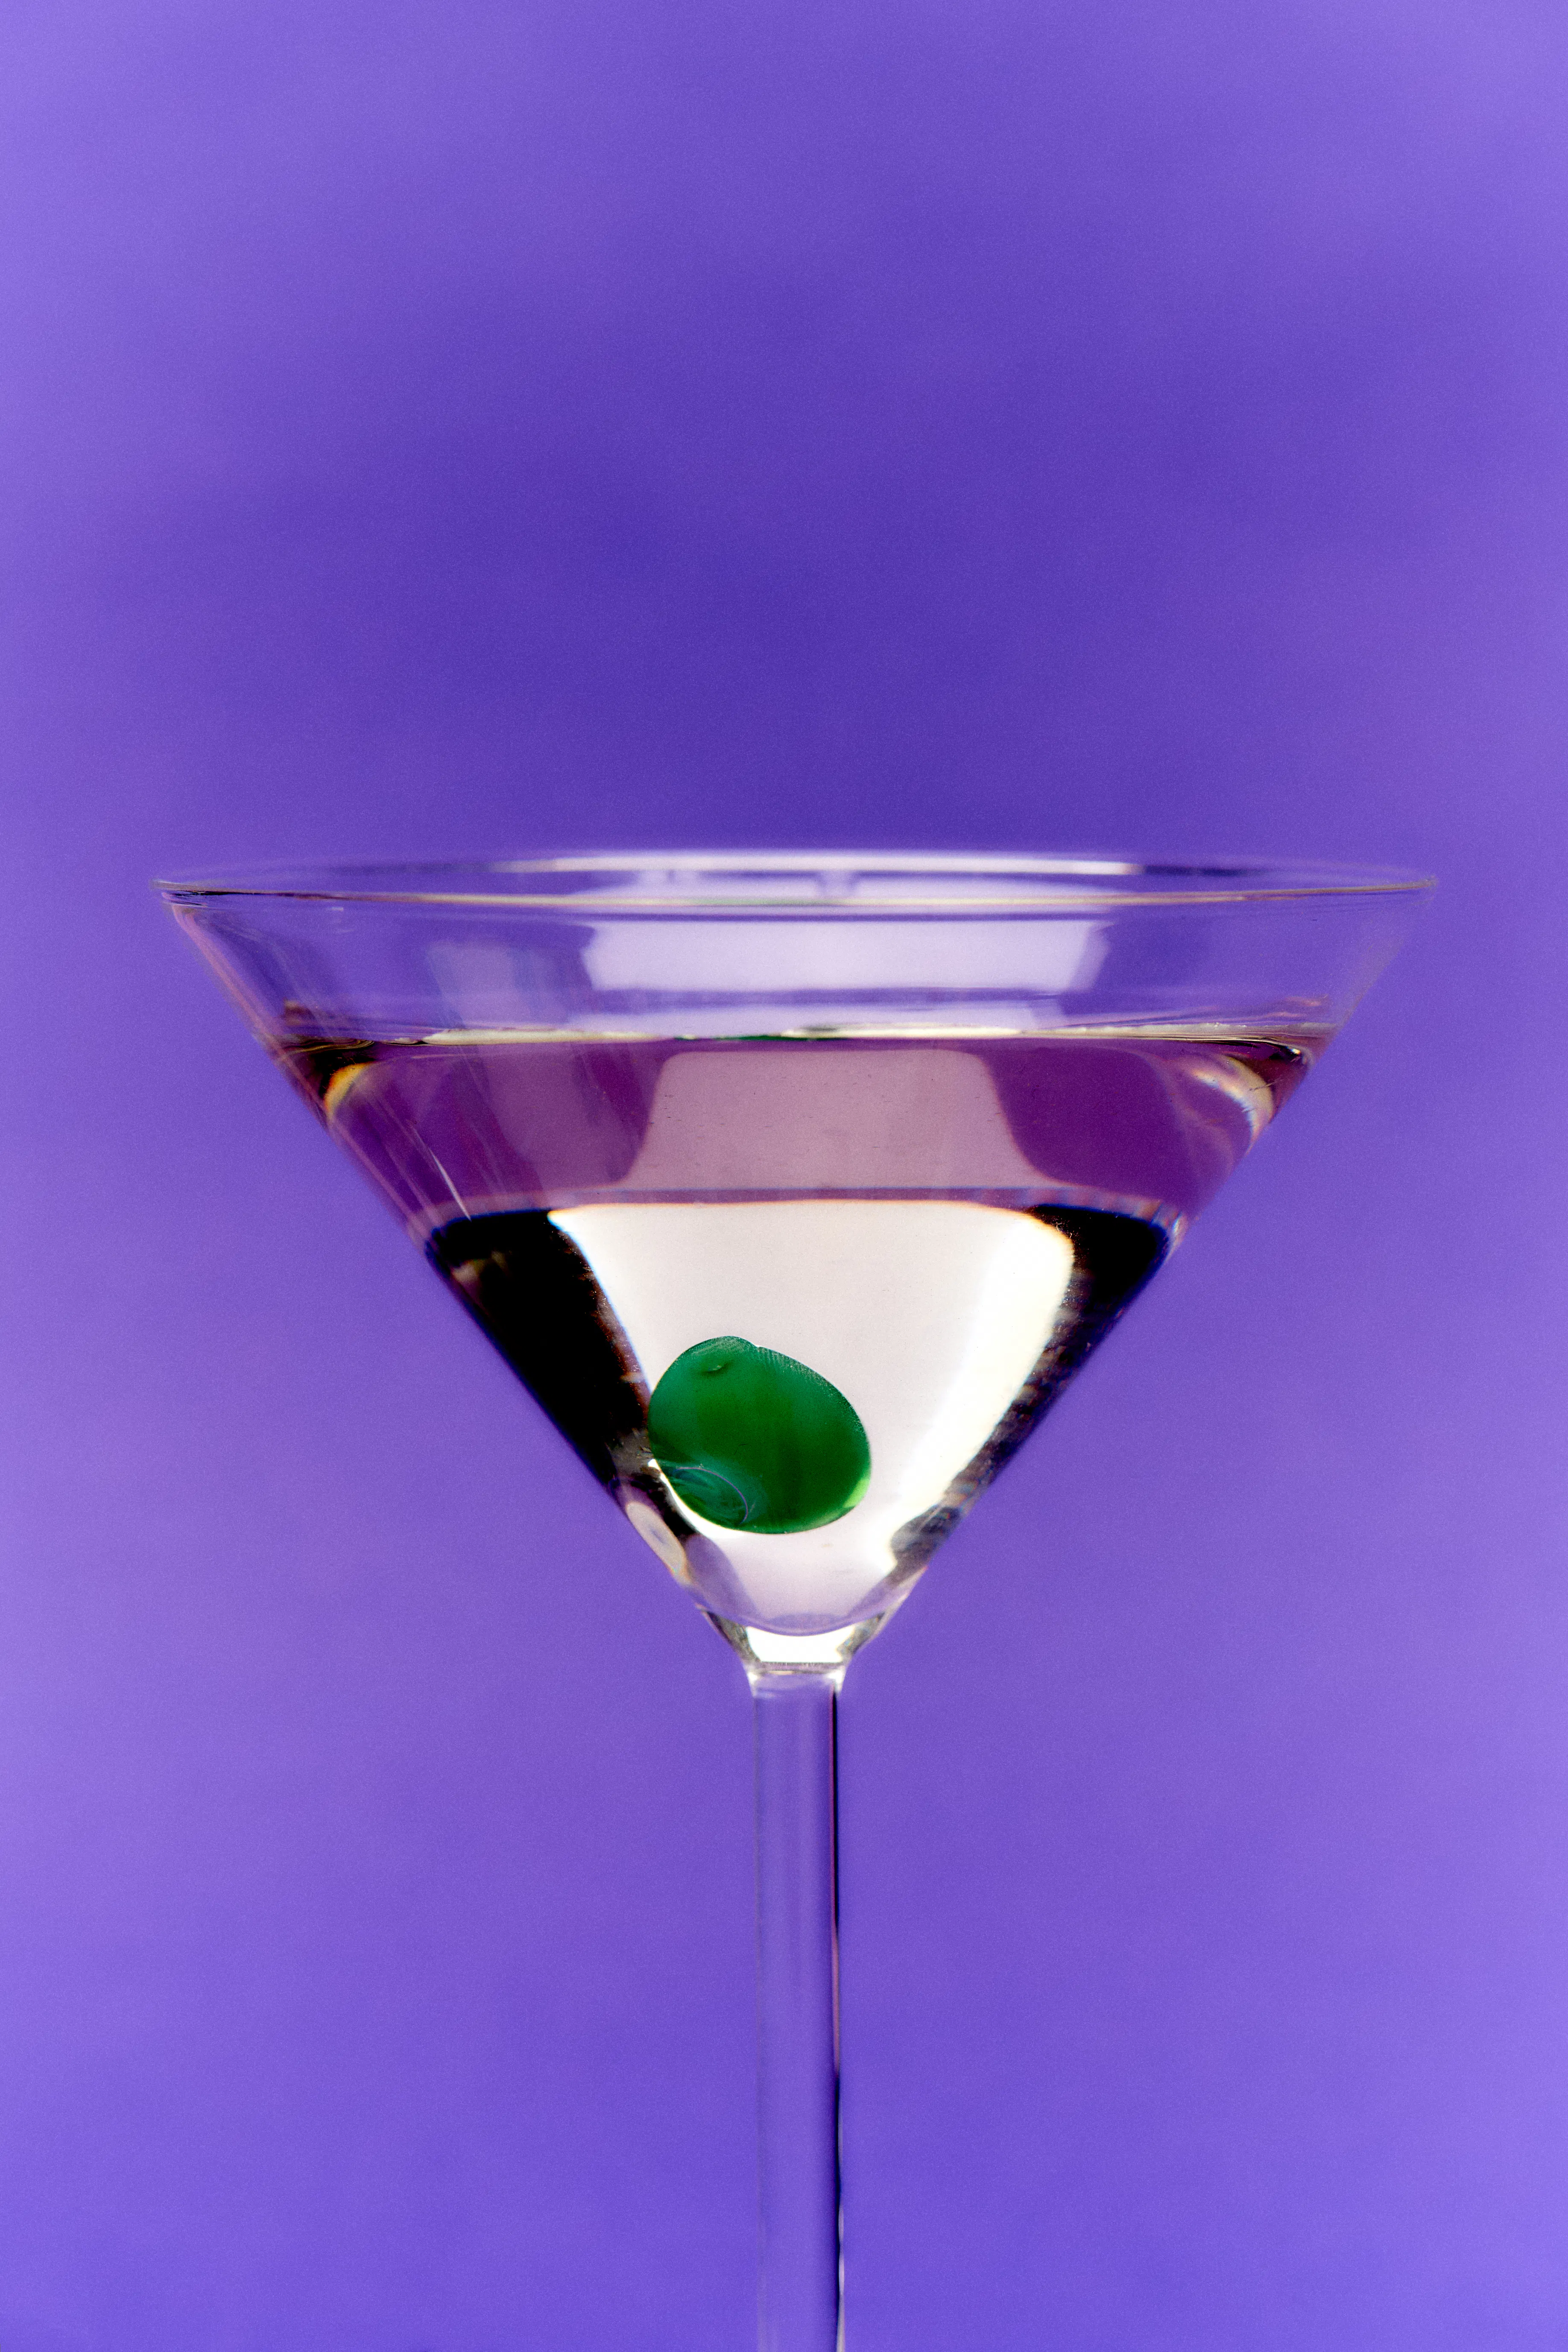
4. Garnish like you might forget to finish
One peel. One olive. One herb stem, slightly imperfect. If the garnish looks deliberate, it’s already too much.
A good rule: if you wouldn’t bother adding it for yourself on a Tuesday night, don’t add it for the photo.
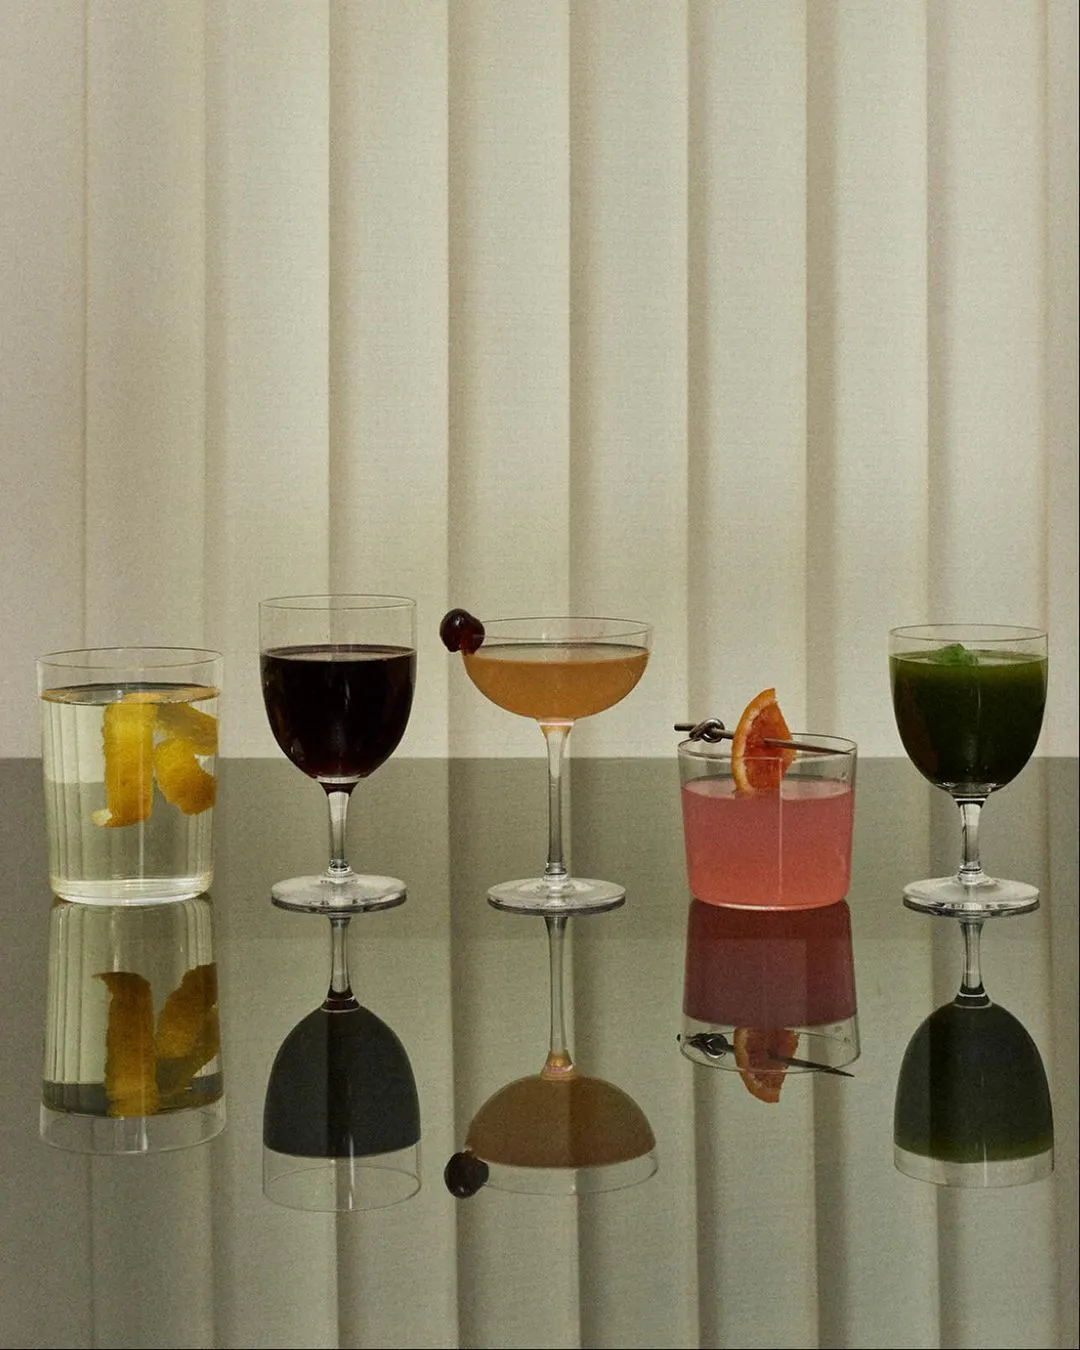
5. Frame the drink as part of a scene
The easiest way to make a drink look good in photos is to stop isolating it. Let it sit next to a plate, a book, a half-folded napkin. Include a hand reaching in or a shadow crossing the table.


